
If you’ve been setting up speakers for a long, you’ll realize that there will be times when you can run out of speaker wires, especially when running cables over long distances. Under such circumstances, you will be faced with two options- either to replace the wire with a longer one or splice the speaker wires. Although the latter is budget-friendly, most people seem to be skeptical about it and have questioned its effect on audio quality.
If you have been wondering whether or not splicing your speaker wire will affect the audio quality, wonder no more because this guide is going to answer all questions. Splicing your speaker wire the right way will not reduce audio quality. However, if the splicing is not done properly, you may experience poor audio quality on your speaker or even short circuit your speaker and this can be very disastrous.
Speaker wires beyond 100 ft may experience some decrease in sound quality when you splice them but this can be resolved if you use thicker wires. Ideally, you should solder your spliced wire but if you are unable to do so, there are still other means you can employ in order to successfully splice your speaker wire. In this article, I will share with you some techniques you can use to splice your speaker wires correctly and which type of wire can be used for your speakers, so keep on reading for these details.

How Does Speaker Wire Length Affect Audio Quality?
Now that you know that splicing speaker wires do not affect audio quality. Let’s look at it in terms of wire length.
When it comes to speaker wire length, splicing done on speaker wires with a 100 ft range generally does not cause any issues. The problems begin to arise after you increase the wire beyond 100 ft.
If your splice, let’s say a 16-gauge speaker wire beyond the 100 ft range, you will begin to some interference in your system.
This normally reduces the audio quality of your speakers.
To work around this, if you have any speaker beyond 100 ft and you intend to splice, rather use the 12-gauge or 14-gauge speaker and you will not face any problems.
Also Read:
What you need to know about Youtube music authorize Sonos
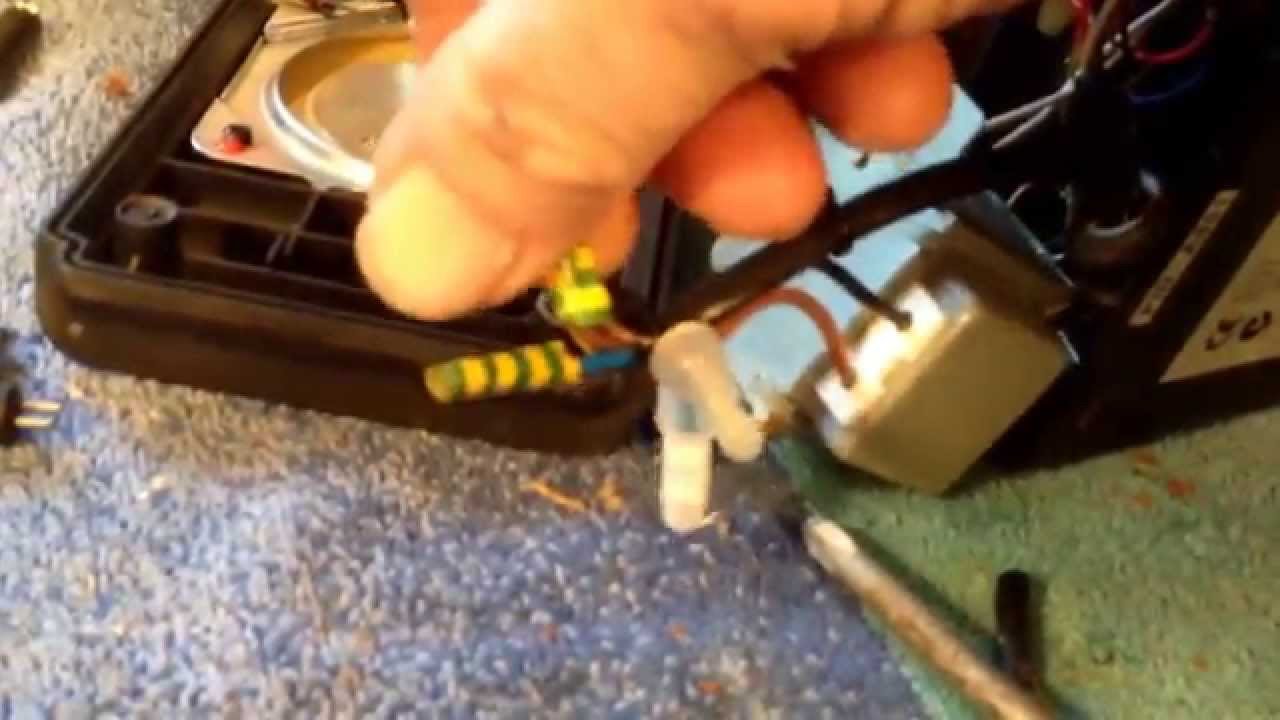
Requirements For Splicing
When you want to splice your speaker wires and want to splice them correctly, you will have a very good speaker wire.
You will also need a few other things as well depending on how you intend to slice your wires. You will need things like a soldering iron, electrical tape, wire nut, crimp connectors, and of course speaker wires.
If you intend to splice over a longer distance, say beyond 100 ft, then you should go in for the 12 or 14-gauge speaker wire, otherwise, your regular 16-gauge wire should be okay for the task.
How to Splice Speaker Wires
When it comes to splicing wires, you should look out for quality rather than just extending some wires.
When you splice your wires neatly and correctly, you will not have any audio problems to worry about afterward.
Your main aim should be to join the metallic parts of the wires together.
You can achieve this in three ways. First, you can solder them together or use crimp connectors. You can also wire nuts in your work.
Among these three ways of splicing wires, you will surely get the best result if your choose to solder the wires. This prolongs your wires’ durability over a long period of time.
However, the downside to soldering is that it is a bit technical, and not so many people can easily do it. Moreover, if you are not a technician or expert, you are most likely not going to have a soldering iron in the room.
Because of this, the wire nut approach and the crimp connectors seem to be the way to go for most people so I will be discussing those two methods below.
You can also splice your speaker wires by twisting the wires together and then use electrical tape on them. This method is cheap and easy but it only lasts for a short time and you may short-circuit your system if you do not do it correctly.
Using the Wire Nut Method
The Wire Nut method is by far the easiest way to splice your speaker wires rightly. You can easily purchase a wire nut online and use it for this process.
Also, ensure that you use suitable speaker wires when splicing.
Follow the steps if you want to splice your speaker wires with a wire nut:
- Select the wires that you want to splice.
- Remove the rubber coating off the ends of the two speaker wires that you intend to splice.
- When connecting the wires make sure the negative wire of one wire is connected to the negative of the wire you intend to splice it with. Similarly, do the same for the positive wires. If you want to test which wire is positive or negative, you can use a battery to do that.
- Join the metallic parts of both wires together by twisting them and then put the connected wire parts in the opening of the wire nut.
- Make sure the wires are secure by twisting the nut down.
- Once the wires are secure, cover the spliced wire portions with electrical tape.
Your wires should be correctly spliced and ready for use after using the steps above.
The wire nuts in addition to the electrical tapes secure the twisted wires, unlike cases where only the electrical tape is used to cover the wires.
Using Crimp Connectors
You can also use crimp connectors to secure your spliced wire portions. This method is also quite easy. Here’s how to do it:
- Select the wires that you want to splice.
- Use a wire cutter to remove the rubber coating off the ends of the two speaker wires that you intend to splice.
- Check for the terminals of the metallic wires. Use a battery to check for which wires are negative and which ones are positive on both wires. You will have to do this to avoid short-circuiting your system.
- Connect the metallic parts of both wires together. Insert the positive ends of both wires into the crimp connector. Similarly, insert the negative ends of both wires into the crimp connector.
- Press the crimp connectors firmly so the connector closes down on metallic wires. Check to see if the connected wires are secure enough.
- Heat up the crimp connectors a bit to shrink their sizes on the wires. You can do this by using a blow dryer or hot air gun.
- Slowly rotate the connector over the heat source to ensure that every part of the crimp connector is heated. If you are lucky, your crimp connectors may have a little bit of solder in them which gets soldered to connections for maximum protection. However, connectors with solders can equally provide the speaker wires with waterproof protection.
How Do Thicker Wires Affect Audio Quality?
Several opinions have been built around wire sizes and how they affect audio quality. Some say the thicker the better and so on and so forth.
Well, as I said earlier, wire thickness only comes into play when we are talking about running cable over longer distances, beyond 100 ft.
If you are splicing your wires beyond the 100 ft range, you should consider the thickness of the wire. Use a thicker wire, preferably 12 or 14-gauge wires. Even if you are not splicing and you intended to connect speaker wires for as long as 300 ft, you should consider using thicker wires.
The only problem here is that you may have some difficulties splicing such thick wires rather than thin ones.
Generally, if your connections are within the 100 ft range, any wire thickness will do just fine and you will not have to worry about interference.
Can I Splice Different Gauge Speaker Wires?
If you are very particular about your audio quality, you may not want to splice two wires of different gauges, for example, a 14 and 12-gauge wire.
However, splicing different gauge wires will not result in any noticeable drop in sound quality. Your audio system will still work as usual once you spliced it correctly.
Just make sure that you splice the right way and there will be no interference in your system.
Once you are able to join the naked wire of the two wires with the correct polarities, you should be good to go. The wires will be able to transmit electrical signals to your speaker as long as the above factors are in play.
Final Thoughts
Splicing speaker wires is a means to extend speaker wires to other locations in your room or outdoors when you ran out of cables. It involves joining naked wires of two wire segments together and allowing the electric signals to flow through them your desired speakers.
Generally, splicing will not affect your audio quality except if you do it wrongly. You should consider the polarities, that is the positive and negative wires before splicing.
The length of the wire and thickness of speaker will however affect your audio quality a little bit by creating interference. If the splicing is done with a 100 ft range from your speaker, you will have no problems at all.
Beyond 100 ft range, you should consider using thicker wires to prevent interference. I have described some of the ways you can splice your speaker wires correctly in this article, so you can use them on your speakers whenever there is the need to splice your wires.

- Optoma UHD50X vs UHD60 4K UHD Projectors Detailed Comparison - June 27, 2023
- Optoma CinemaX Pro vs P2 Projectors: What is the Difference? - June 27, 2023
- DLP vs Laser Projectors: What is the Difference? - June 27, 2023
